
Lightsabers
Here are some lightsaber props I've made. I wrote this page many years ago so it may be confusing and poorly written.
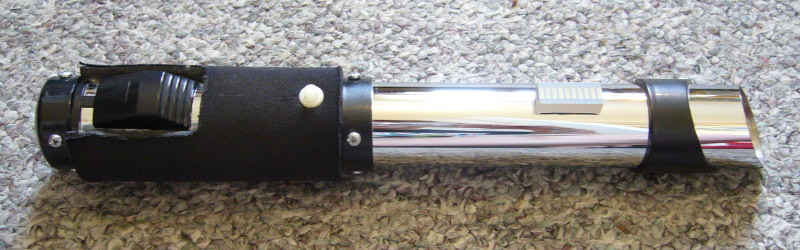
First lightsaber
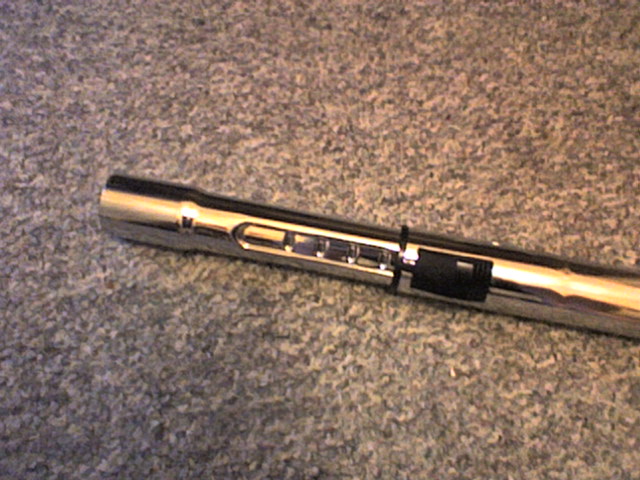
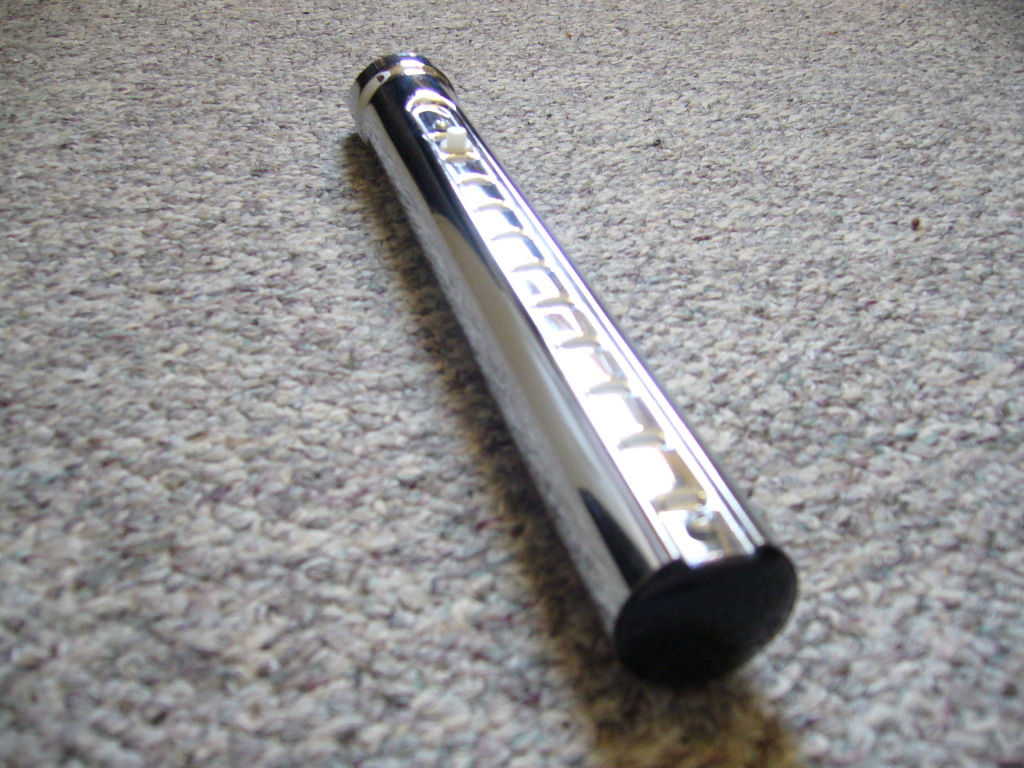
The body of it is made from a chrome tube, which was originally a vacuum cleaner rod. The rod was an extendable one so it had a plastic joining mechanism on it for allowing the the two sections to move, which I decided to incorporate into the design.
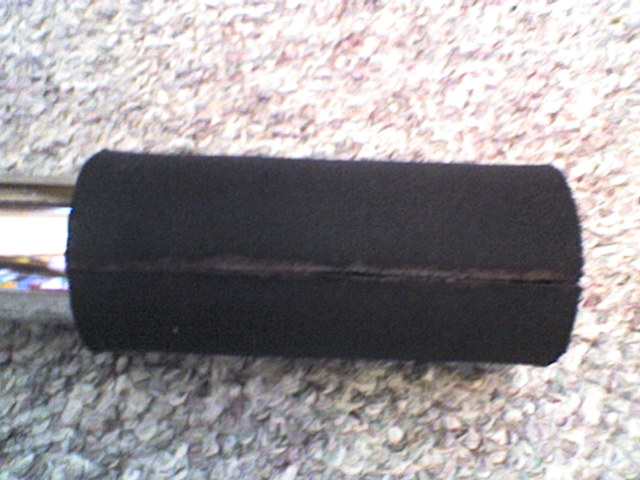
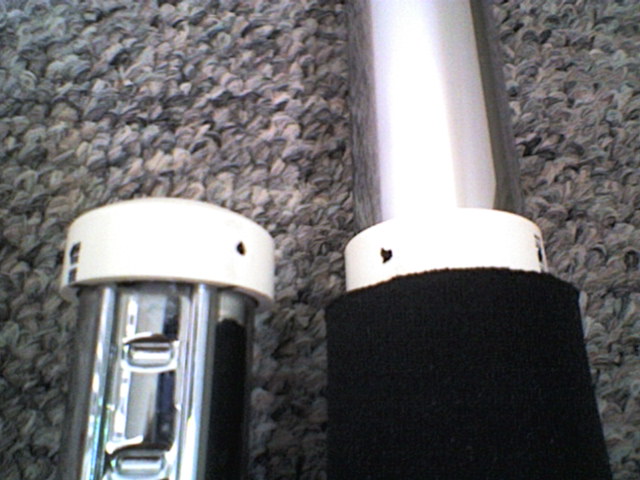
For the grip I used a mousepad which I formed into a tube which fit over the chrome pipe. I cut it to the right size, glued the sides together with superglue to form it into a tube, then cut out a section for the plastic joining mechanism. I then slid the grip over the pipe and glued it in place with epoxy. The seam that was joined with superglue looks a bit rough, but not too bad. It's at the back so it usually won't be seen.
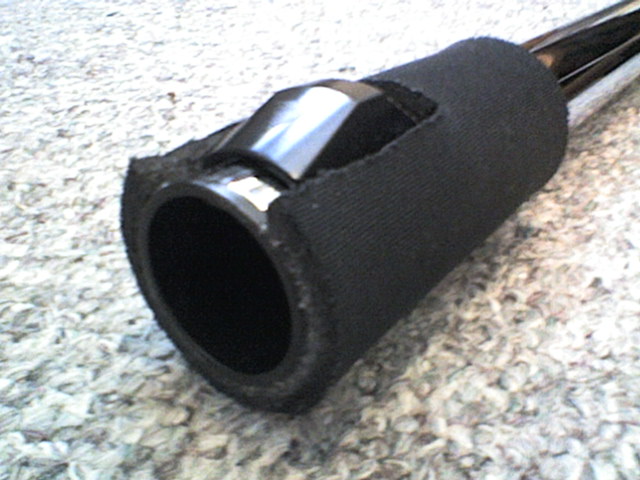
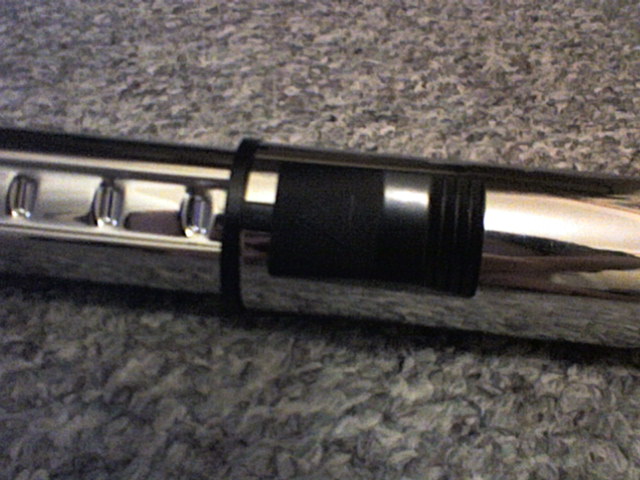
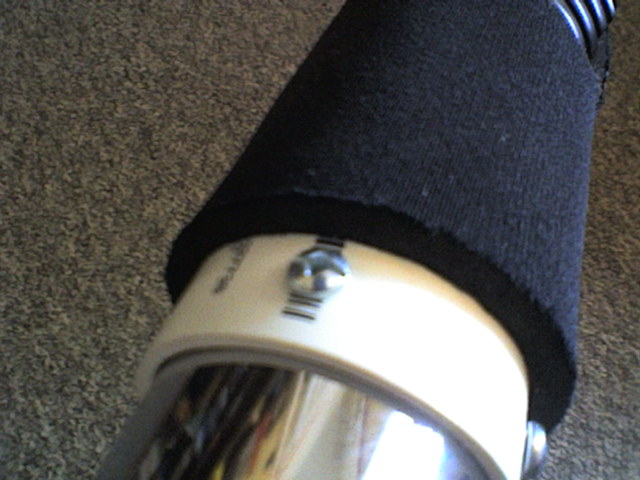
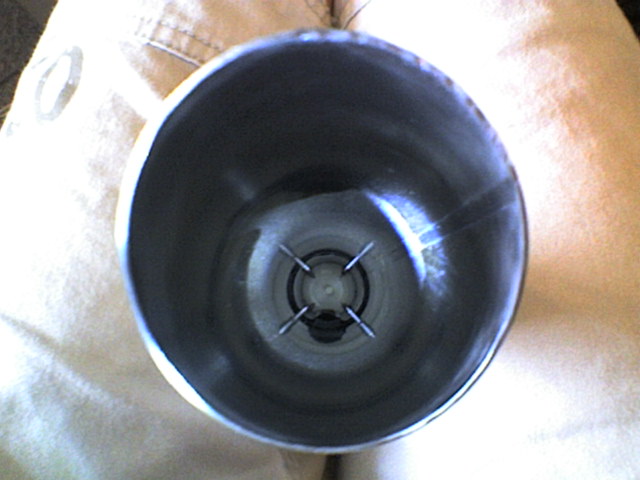
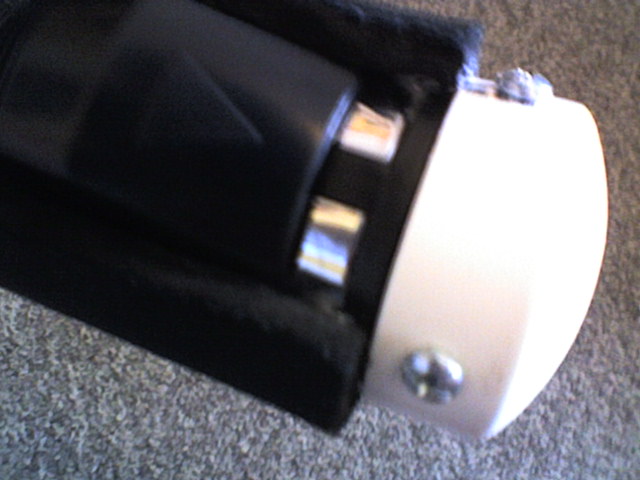
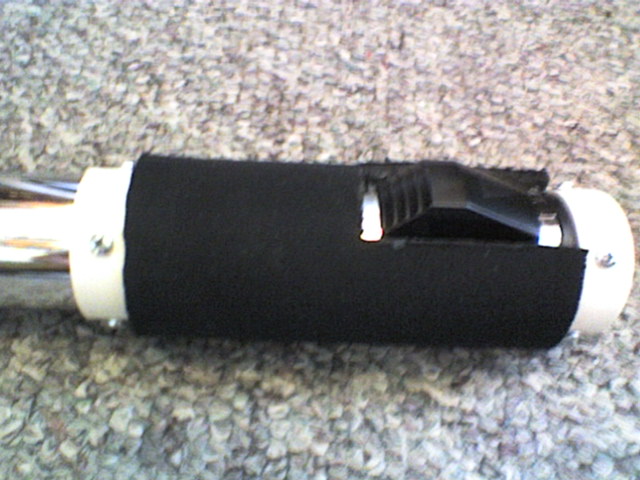
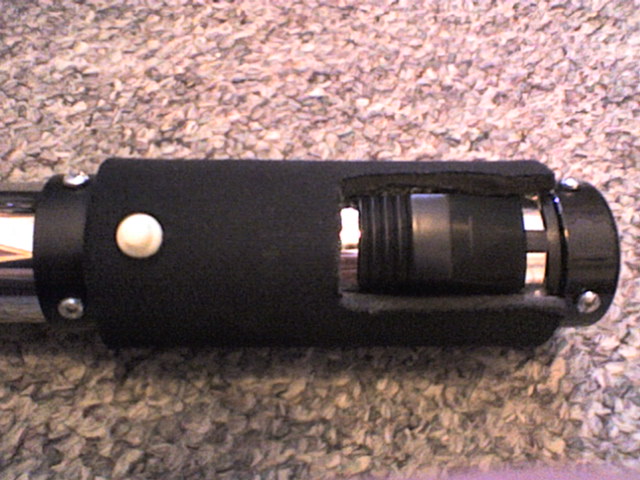
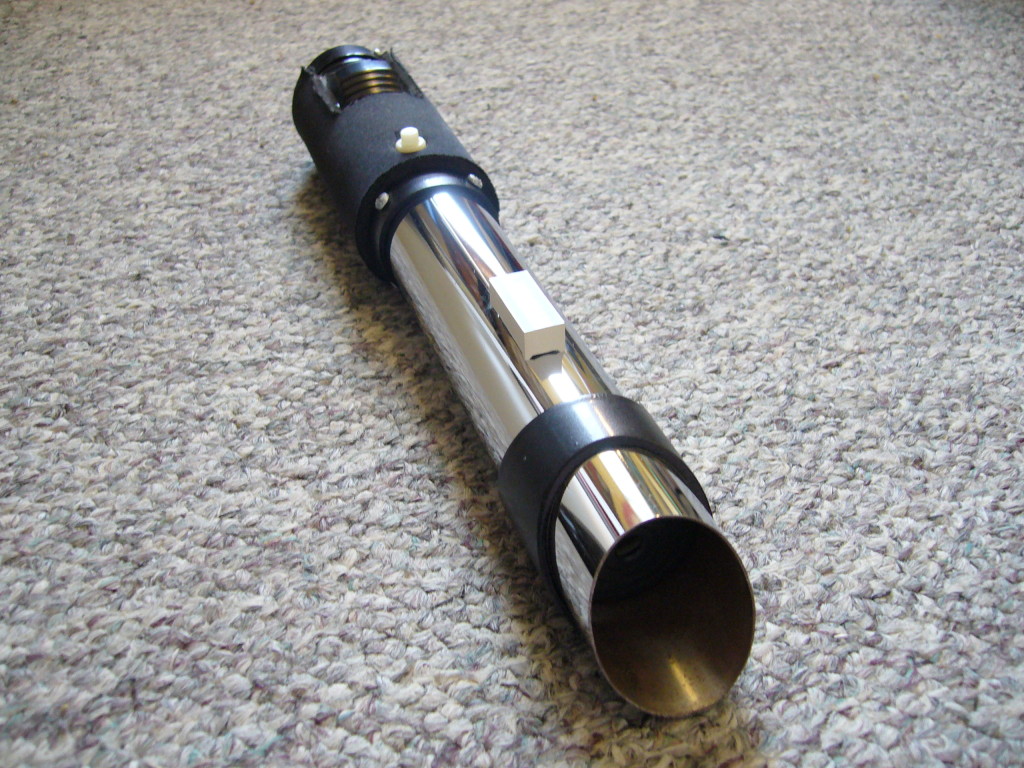
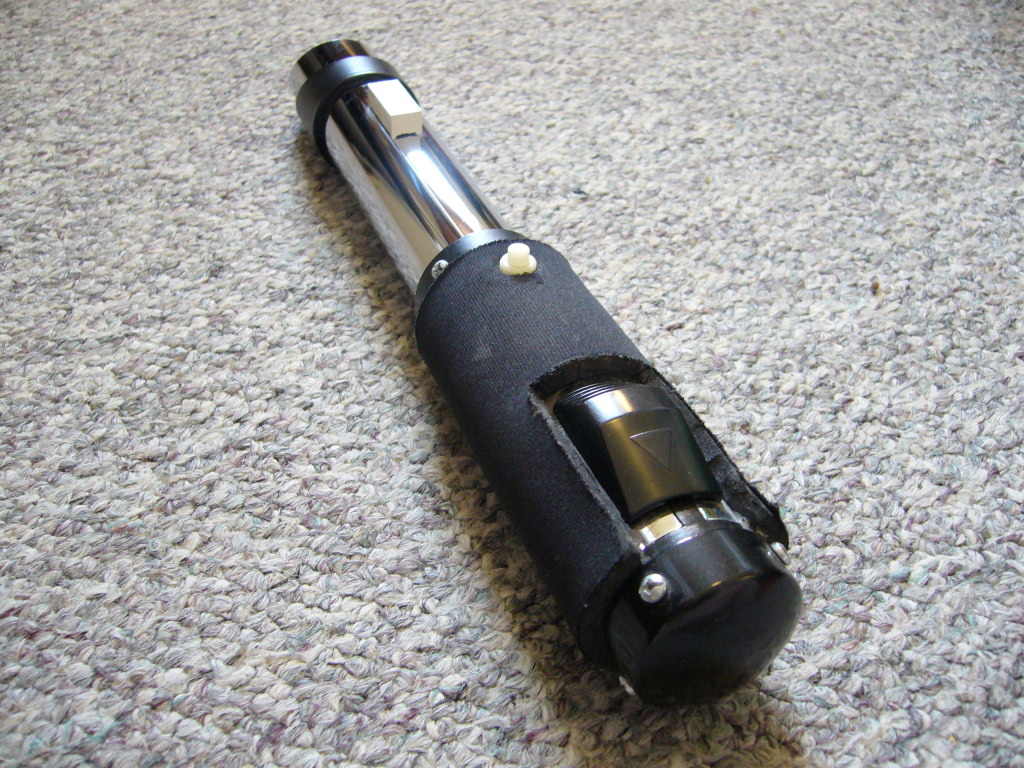
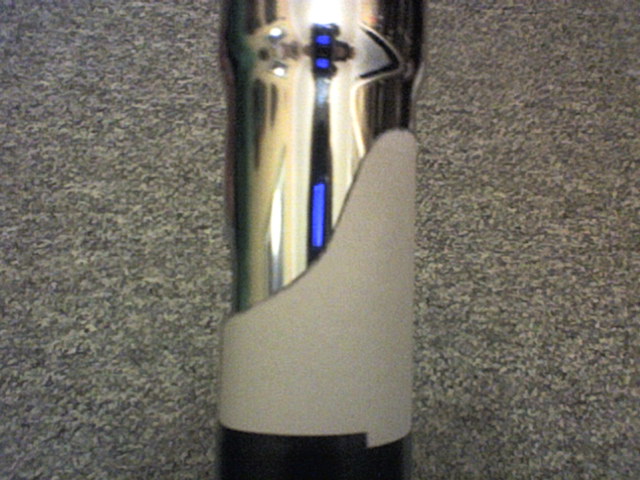
I got couple of PVC parts for some decoration. There's a coupler near the top of the lightsaber, and an endcap cut into two parts (a cap and a ring) at either end of the grip. The ring is held onto the main pipe with four screws. For the endcap, I got a section of the part of the vacuum rod that slides into the other part (are you following me?) and attached the endcap to that with screws. The section of pipe that the endcap is on slides into the main pipe, and locks into place with the joining mechanism. That way the lightsaber can be opened easily (to replace batteries for the electronics), but looks and feels like one solid unit when closed.
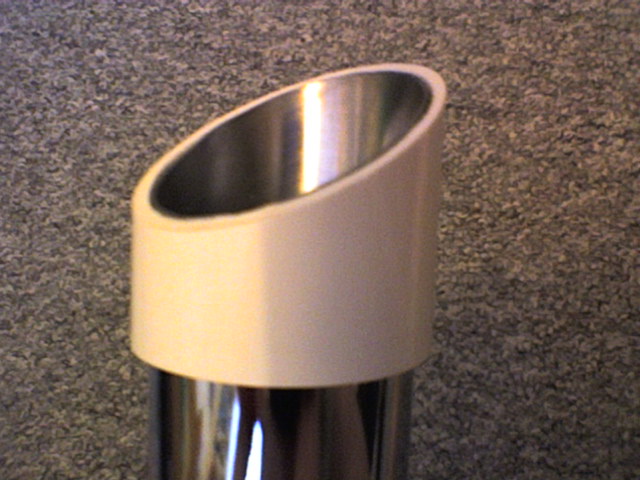
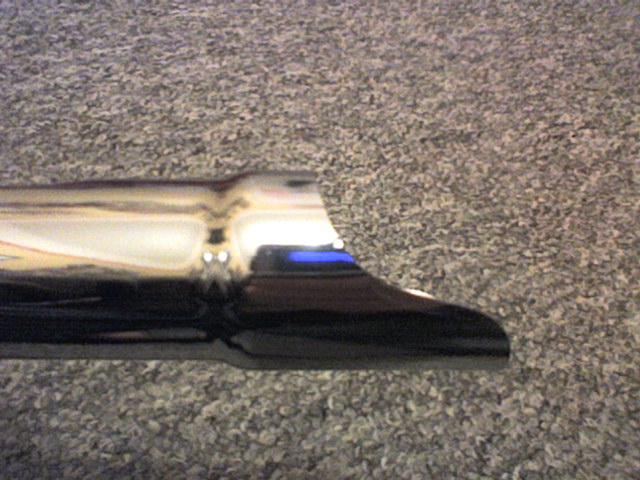
The next step was to cut the end of the tube to the right length (about 30 cm). I cut it at an angle, along with the PVC coupler, and smoothed the cut with an arbor.
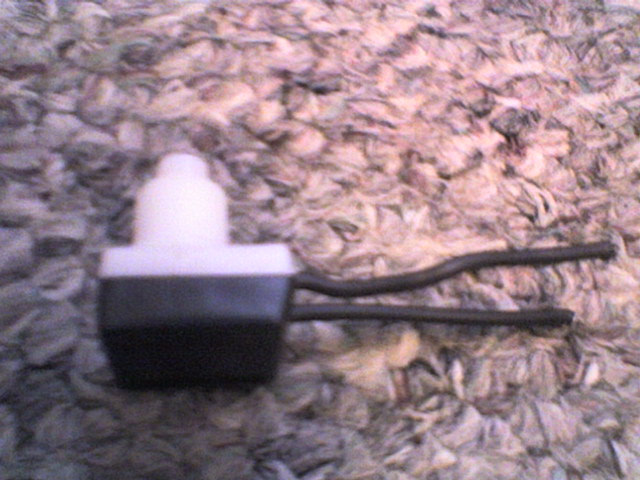
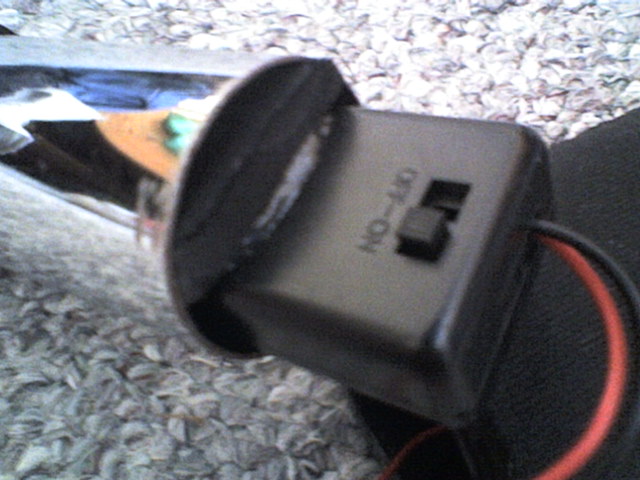
I installed a power button which pokes through a hole in the grip, and is wedged inside with a bit of PVC pipe. When I put it in I wasn't sure if I was going to put in any electronics.
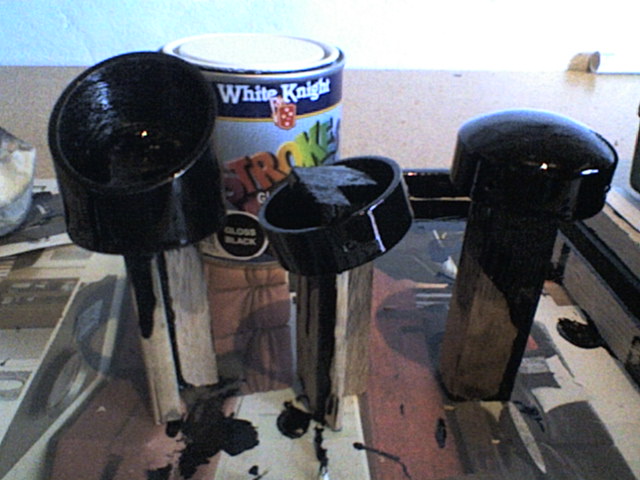
Next I painted the PVC parts. This was pretty tricky to do well, probably the hardest part of the whole project. I wanted a smooth, shiny finish, so I decided to dip the whole thing in paint. I first tried this on some parts which I was going to use before I changed the design and had to replace them. I screwed that up pretty bad. One of the reasons for this was that I shook the paint tin a lot and millions of tiny air bubbles formed in the paint, which screwed up the finish when I painted the parts. When I went to paint the actual parts it went much better, but there were still some thick bits and some thin bits. To patch up the thin bits, I gave it a second coat with spray paint which gave it more of a matte finish. Not exactly what I wanted, but it still looks pretty good.
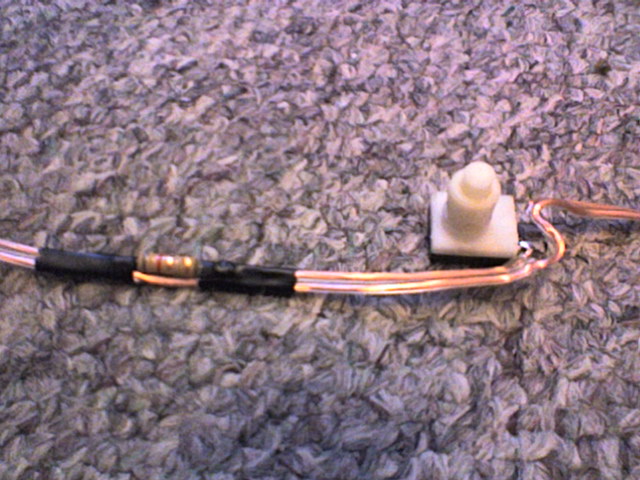
The electronics required a bit of stuffing about too. I decided to put on a powerbar with 10 LEDs, powered by 2 AAA batteries. I wired up the switch with a current limiting resistor, and connected it to a battery holder which fits inside the removable section of pipe that fits into the main body of the lightsaber. This allows the batteries to be removed/changed easily.
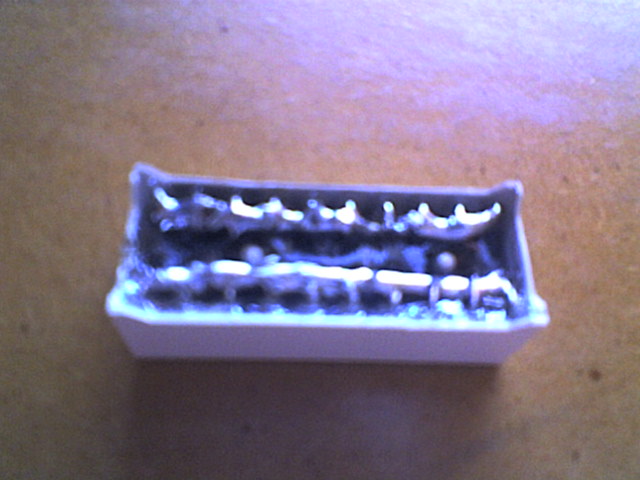
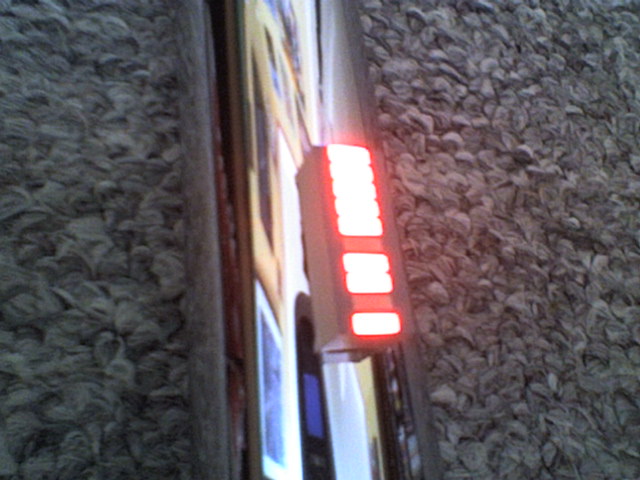
I then wired this to a 10-LED powerbar, of which I soldered together all the anodes and cathodes so that the LEDs all come on at the same time. The wire comes through a hole in the pipe and connects to the powerbar, which is glued on to the pipe with epoxy. Annoyingly, after I connected and glued everything in place, two of the LEDs died. Since then, a third one has died.
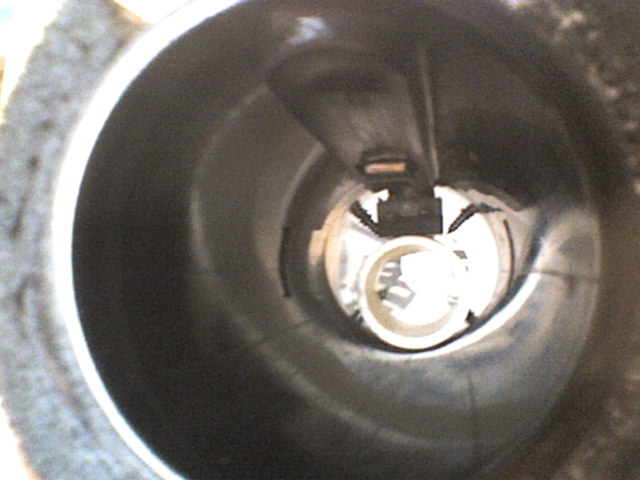
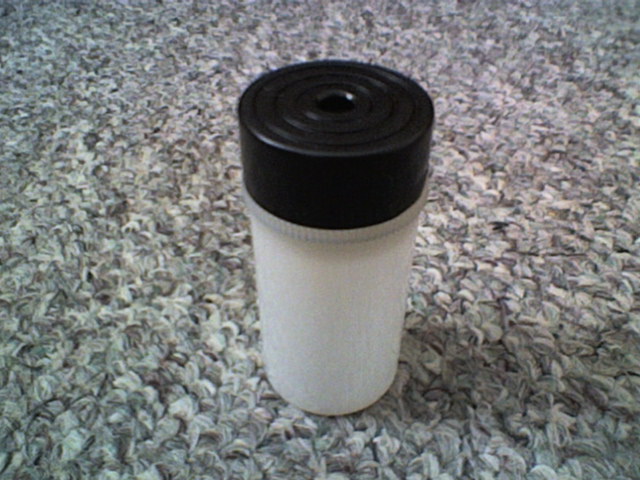
For the blade emitter I used a circular piezo buzzer which looks kind of cool. I cut off the wires and mounting bits and glued it to the top of a film canister. To make it a tight fit in the pipe I wrapped some electrical tape around the canister, and slid it into the lightsaber. The last step was to put the coupler on. I was going to glue it in place with epoxy but out of laziness I decided it would stay on well enough with friction.
Here's the finished product:
Second lightsaber
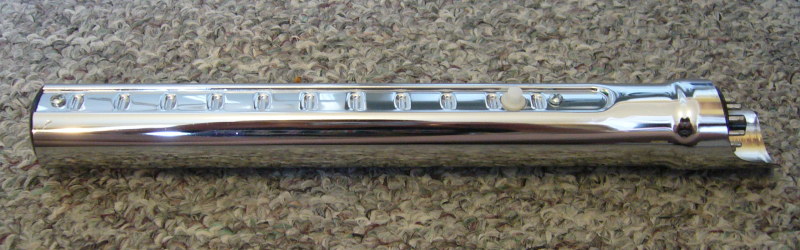
For my second lightsaber I used the inner section of the vacuum cleaner rod. It's a bit thinner, but it has a cool indentation running down the length.
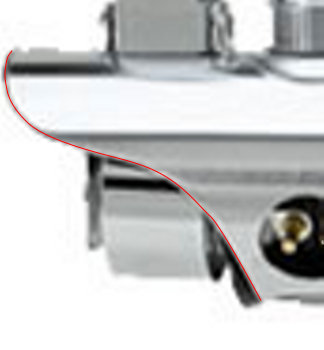
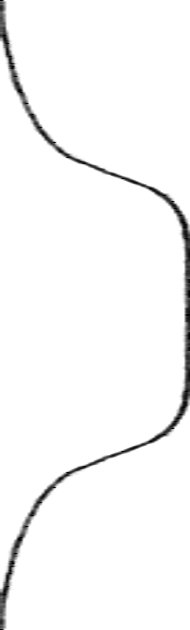
The first thing I decided was to cut the end with a curve similar to Luke Skywalker's lightsaber. Through some tedious maths I created a curve cutting guide that can be printed and wrapped around a pipe to get a pretty good curve. The end result is pretty close to the original.

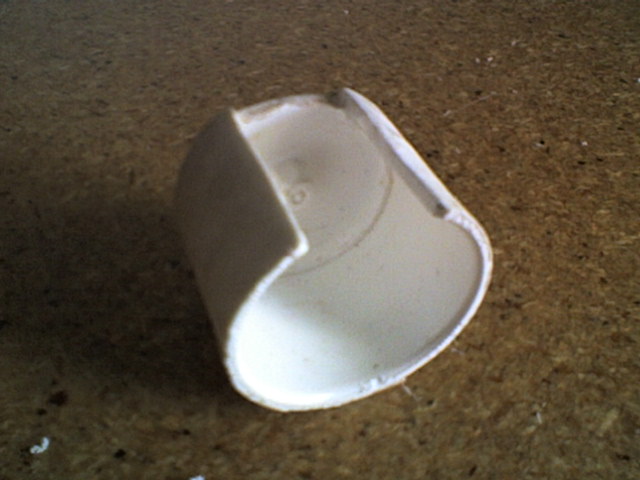
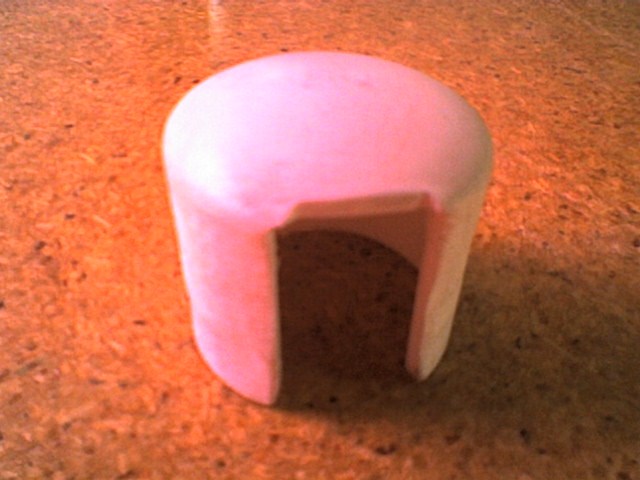
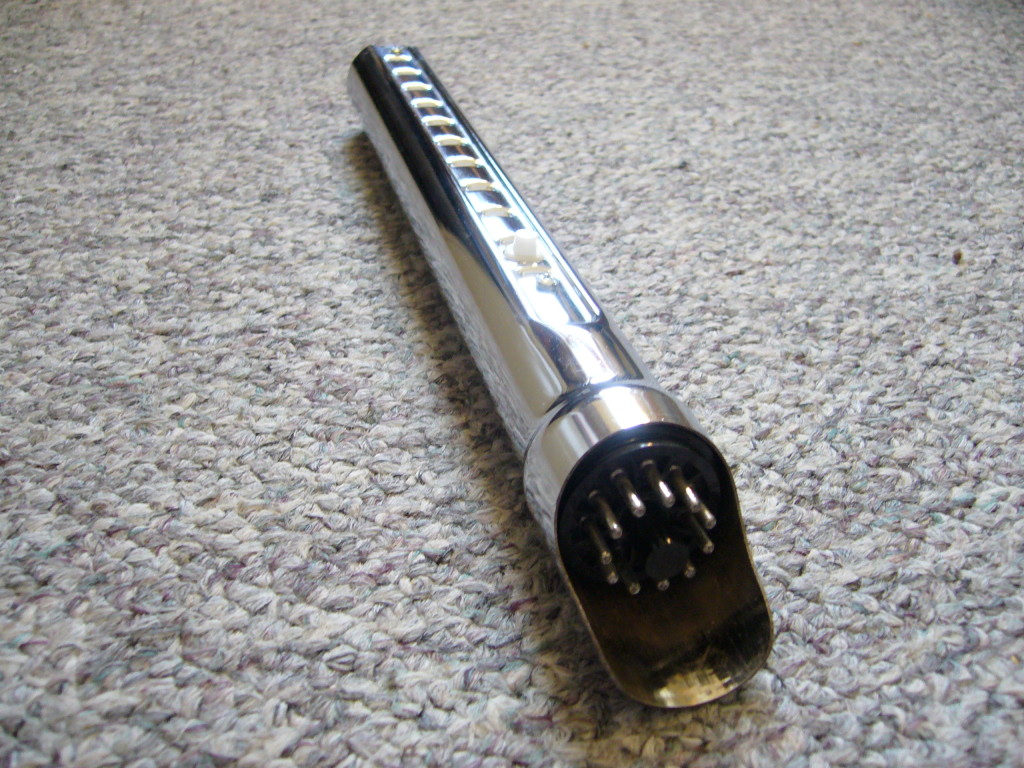
I wanted to keep the outside of the pipe sleek and minimalistic. This meant that I couldn't just put a PVC endcap over the end like with the first one. I needed the end piece to be inside the pipe. My first idea was to use a film canister, with a section cut away to accommodate the indentation of the pipe. The film canister turned out to be just a tiny bit too wide, and not thick enough to grind down to fit. It would have been too flimsy anyway. Eventually I decided to use a small endcap that could fit inside the pipe rather than over it. The endcap I got was a bit too wide to fit so I ground it down a bit on the arbor until it fit in snugly. Then I cut away a section for the pipe indentation. I had to be very careful not to cut more than necessary. The end result looked pretty neat.
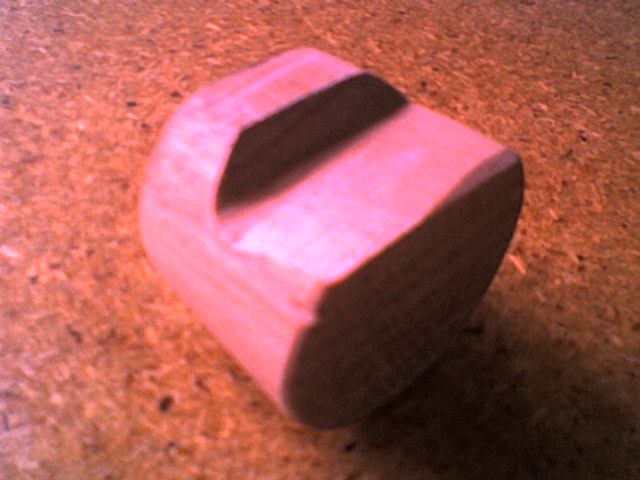
Later, though, I decided that the job I'd done sanding off the writing from the endcap was too rough, and I started again using the spare endcap I'd cunningly bought. This time it was much smoother, and I did an much better job cutting the indentation as well.
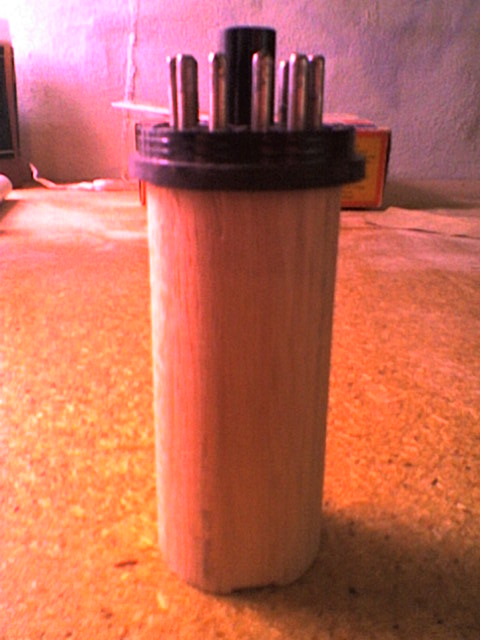
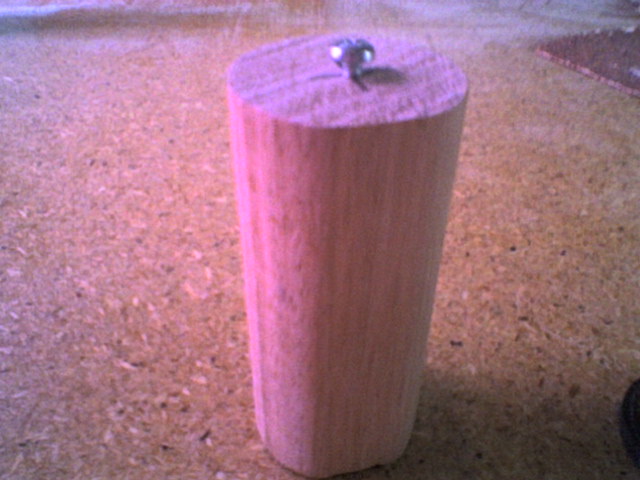
I got a small piece of dowel to go inside the endcap, so the screw that holds it in place would have something to screw into. (Annoyingly I had to buy a six-foot piece of dowel, of which I ended up using barely 10 centimetres.) The wood piece is held in the endcap with Araldite. Having learned my lesson painting the PVC parts for my first lightsaber, I used spraypaint to paint the endcap. Luckily this is the only part that needed any painting.

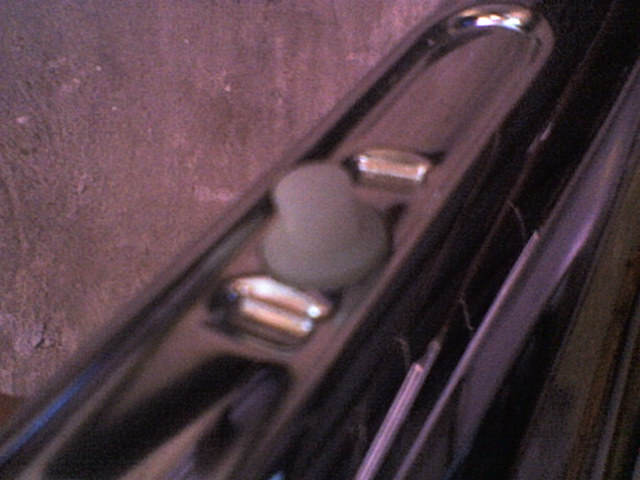
The power button is the same sort I used for the first lightsaber. Mounting it was a little trickier though - on the old one the button pokes through the grip, so while the button's body is pressed against the inside of the tube, the mounting threads are hidden by the grip and just the actual button pokes out. This time there's no grip, so I needed to mount the button so that it's held away from the tube wall and the threads are hidden. To do this I cut two wooden pieces that hold the switch firmly inside the tube. The upper piece has notches that fit over the indentations in the tube to hold it in place while I slid the lower piece underneath, wedging the button body in place. The good thing about this method is that I could precisely set the position of the button. It was very fiddly, but worth it.
(Unlike in my first lightsaber, this switch doesn't actually do anything.)
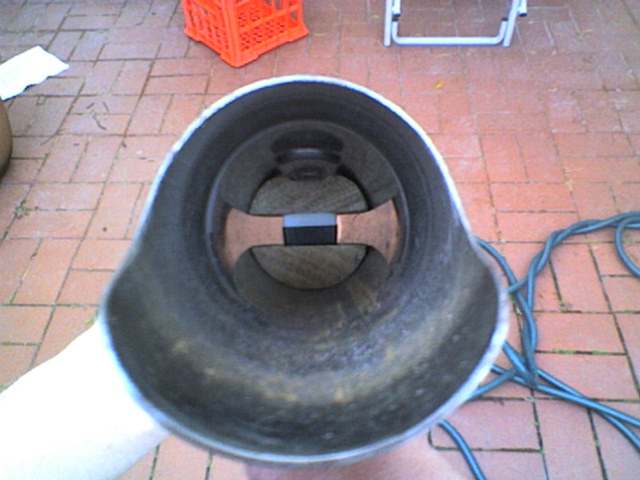
The emitter is a fitting from the top of an old relay I had lying around. The emitter is glued to the top of a wooden piece with Araldite, and the wooden piece fits into the top of the tube. A screw holds it in place. Originally I was going to glue the emitter in place, but I want the lightsaber to be totally disassemblable to allow for possible future modifications.
The last step was to drill the holes for the screws and put the screws in. This brought a few problems. The one drill bit I had that was the perfect size wasn't working very well for some reason. It looked fine, but then I realised that it was somehow magnetised, and metal filings were sticking to it as I tried to drill through the metal tube, which I think was stopping it from drilling properly. I tried to demagnetise it with another magnet, which seemed to work, but I guess not enough because it kept on picking up the filings. I tried pushing it down harder as I drilled, and ended up snapping it and scratching the lightsaber. That was annoying. So I ended up using a slightly smaller one, but that was too small so I widened it with a slightly bigger one. It all worked out fine in the end.
Here's the finished product: